Lyndaz Kreative Klasses
Carbon Sewing Classes
Carbon Sewing Classes
Couldn't load pickup availability
👗 Carbon Sewing – Clone Your Favourite Dress
8-Week Dressmaking & Pattern Cloning Course
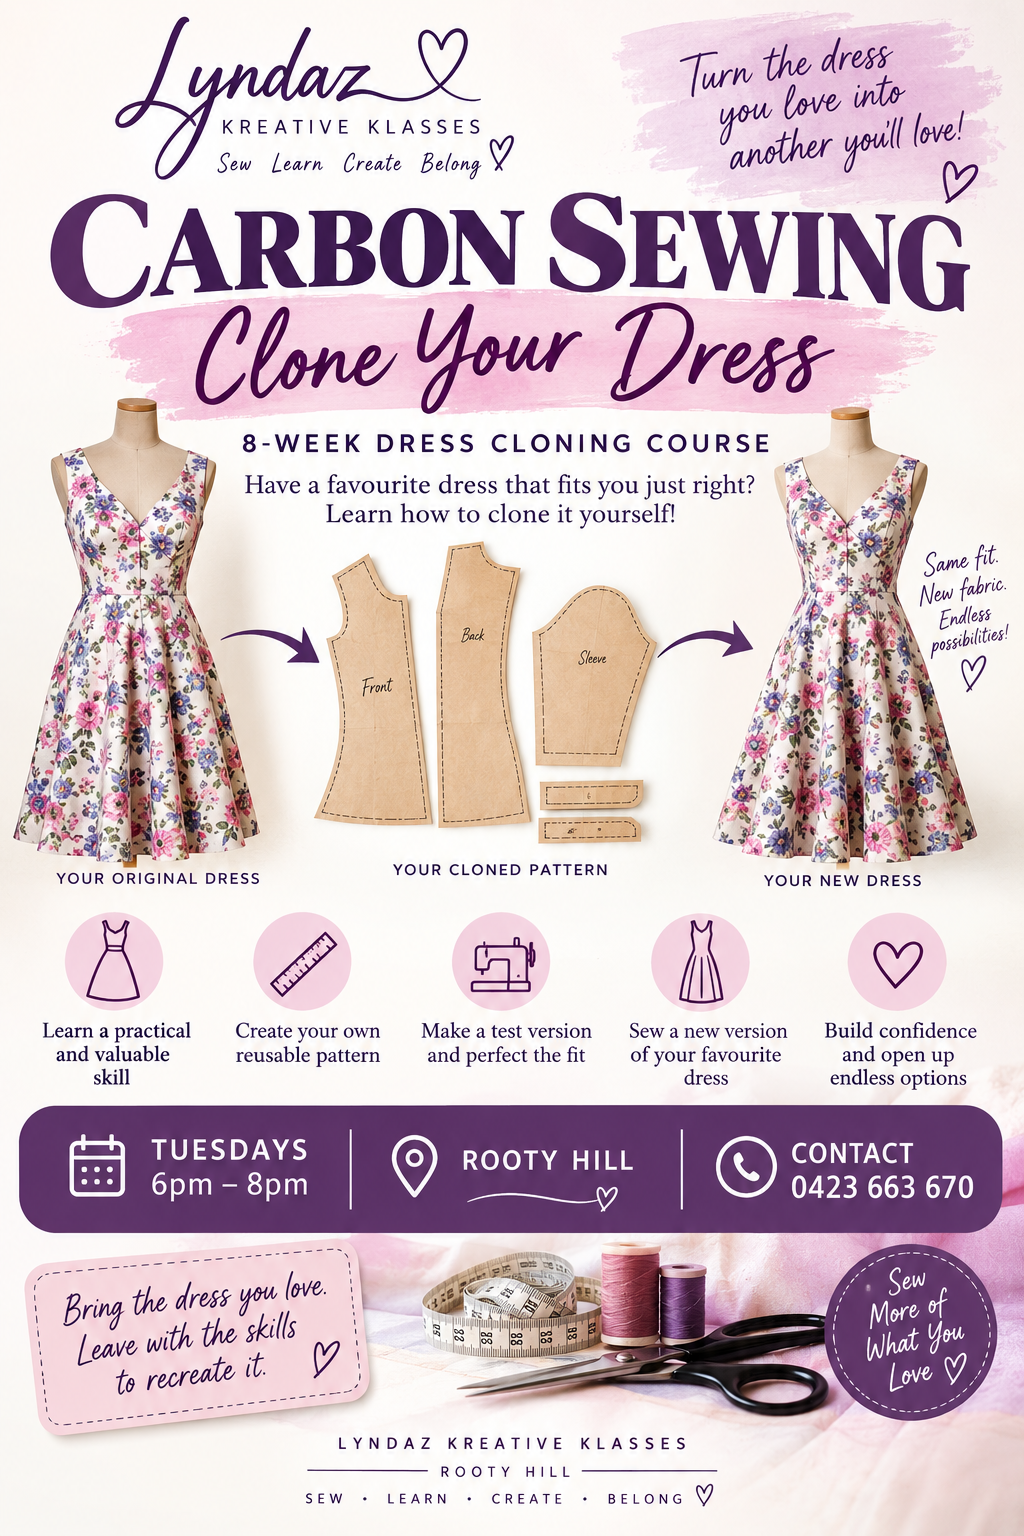
Love the dress you already own? Learn to recreate it without taking the original apart!
Have a favourite dress that fits beautifully, but wish you had another one?
Join me at Lyndaz Kreative Klasses in Rooty Hill and discover how to reproduce a favourite dress by carefully transferring its shape, seams, darts and construction details into a reusable sewing pattern.
Over eight structured sessions, you'll analyse your original garment, create a cloned pattern, construct a test garment, make fitting adjustments and work towards sewing your very own recreated dress.
Your original dress remains intact throughout the process.
💜 Course Overview
-
Class Schedule: Tuesdays, 6pm–8pm
-
Course Duration: 8 sessions
-
Session Length: 2 hours
-
Total Learning Time: 16 hours
-
Skill Level: Confident Beginner to Intermediate Sewist
-
Major Project: Clone one suitable, well-fitting dress
-
Location: Rooty Hill, Western Sydney
-
Learning Style: Guided, practical and hands-on
Important: This is not an absolute beginners sewing course. Students must already be confident using a sewing machine and completing basic garment construction.
📚 What You'll Learn
WEEK 1 – Understanding Garment Cloning
Module 1: Garment Analysis
Learn how an existing dress can be translated back into individual pattern pieces.
Lessons include:
-
Understanding garment cloning
-
Choosing suitable garments
-
Identifying front, back and other pattern sections
-
Recognising seams, darts, panels and shaping
-
Understanding grain direction
-
Examining necklines and armholes
-
Identifying zips, buttons and elastic
-
Recognising facings and linings
-
Assessing garment construction
Weekly Project: Complete a garment analysis and construction sketch of your chosen dress.
WEEK 2 – Carbon Transfer & Cloning Techniques
Module 2: Transferring the Original Design
Learn the foundation techniques used to copy a garment without dismantling it.
Lessons include:
-
Preparing the dress for accurate copying
-
Positioning garment sections correctly
-
Using carbon and tracing materials
-
Transferring seam lines
-
Working section by section
-
Transferring curved areas
-
Recording darts and shaping
-
Locating centre front and centre back
-
Checking measurements against the original garment
Weekly Project: Begin cloning the main front and back sections.
WEEK 3 – Completing the Pattern Pieces
Module 3: Extracting Garment Components
Learn how to break a garment into manageable pattern sections.
Depending on the chosen dress, components may include:
-
Sleeves and bodice panels
-
Skirt and waist sections
-
Yokes and pockets
-
Collars and cuffs
-
Facings and straps
-
Waistbands and other design details
Weekly Project: Complete the initial cloned pattern pieces.
WEEK 4 – Creating Your Sewing Pattern
Module 4: Pattern Development
Transform your traced pieces into a usable sewing pattern.
Lessons include:
-
Trueing pattern lines
-
Checking adjoining seams
-
Correcting curves
-
Adding seam and hem allowances
-
Marking notches and grainlines
-
Labelling pattern pieces
-
Identifying cut-on-fold pieces
-
Transferring dart markings
-
Checking measurements against the original dress
Weekly Project: Prepare your first complete Carbon Sewing Master Pattern.
WEEK 5 – Toile & Test Garment
Module 5: Testing Your Pattern
Learn why testing your pattern is essential before cutting your final fabric.
Lessons include:
-
Selecting suitable toile fabric
-
Economical pattern placement
-
Accurate cutting
-
Transferring construction markings
-
Assembling the test garment
-
Planning construction order
-
Temporary sewing techniques
-
Preparing for fitting
Weekly Project: Cut and construct a toile or suitable fitting sample.
WEEK 6 – Fit, Compare & Correct
Module 6: Pattern Adjustments
Compare your original dress, cloned pattern and test garment.
Lessons include:
-
Identifying fitting differences
-
Checking bust, waist and hip placement
-
Evaluating shoulder position
-
Checking neckline and armhole balance
-
Assessing sleeve fit where applicable
-
Correcting length and proportion
-
Identifying gaping and pulling
-
Making fitting adjustments
-
Transferring corrections to your paper pattern
Weekly Project: Finalise your corrected reusable Master Carbon Pattern.
WEEK 7 – Cut & Construct Your Final Dress
Module 7: Garment Construction
Begin recreating your favourite dress using your corrected pattern.
Lessons include:
-
Understanding fabric behaviour
-
Choosing appropriate fashion fabric
-
Pattern layout and grain placement
-
Cutting accurately
-
Transferring markings
-
Planning construction order
-
Sewing and finishing seams
-
Inserting suitable closures
-
Assembling major garment sections
Weekly Project: Cut and begin constructing your cloned dress.
WEEK 8 – Complete Your Carbon-Sewn Dress
Module 8: Professional Finishing
Bring your project together and assess the finished garment.
Lessons include:
-
Final garment assembly
-
Neckline finishing
-
Sleeve and armhole finishing
-
Hemming
-
Pressing during construction
-
Finishing seams
-
Final fitting adjustments
-
Quality checking
-
Comparing the finished dress with the original
Final Project: Present your original dress alongside your newly cloned version and reusable master pattern.
Project completion depends on garment complexity, individual progress and any practice or construction completed between sessions.
👗 Choosing the Right Dress
Suitable Garments
For this course, choose a relatively straightforward, well-fitting dress such as:
-
Simple day dress
-
Shift dress
-
A-line dress
-
Basic fitted dress
-
Sleeved or sleeveless dress
-
Simple panelled dress
-
Straightforward woven design
Garments Not Suitable for This Course
-
Fully boned formal gowns
-
Heavily gathered dresses
-
Complex pleated garments
-
Tailored jacket-style dresses
-
Highly structured eveningwear
Your selected garment must be clean, in good condition and suitable for your current sewing skill level.
👜 Student Supply List
Bring From Week 1
Original Garment
-
One suitable, well-fitting dress
Pattern-Making Equipment
-
Pattern paper
-
Dressmaking carbon or tracing paper
-
Tracing wheel
-
Clear ruler and long ruler
-
French curve
-
Measuring tape
-
Pencil, eraser and sharpener
-
Paper scissors
-
Sticky tape or masking tape
-
Coloured pens or pencils
Dressmaking Equipment
-
Fabric scissors
-
Thread snips
-
Pins or sewing clips
-
Hand-sewing needles
-
Tailor's chalk or fabric marker
-
Seam ripper
-
General-purpose sewing thread
Bring From Week 5 – Test Garment
-
Calico or suitable inexpensive test fabric
-
Zip, buttons or elastic if required for accurate fitting
Bring From Week 7 – Final Dress
-
Suitable fashion fabric
-
Matching thread
-
Zip, buttons, elastic or other closures as required
-
Interfacing if required
-
Lining if required
-
Suitable trims and notions
✨ Skills You'll Develop
Throughout the course, you'll develop skills in:
-
Garment analysis
-
Non-destructive pattern cloning
-
Pattern tracing and transfer
-
Understanding garment construction
-
Pattern drafting and refinement
-
Seam and hem allowances
-
Toile construction
-
Garment fitting and alterations
-
Fabric selection
-
Dress construction
-
Professional garment finishing
🌸 Who Can Join?
This course is suitable for learners who already have practical sewing experience and would like to develop their pattern-making and dressmaking skills.
Blended age groups • Gender neutral • NDIS participants welcome
Individual guidance is provided throughout the course.
Prerequisite: Students must already know how to operate a sewing machine, sew basic seams and undertake straightforward garment construction.
Basic machine setup and introductory sewing skills are not taught in this course.
📅 Class Schedule & Flexible Attendance
Tuesdays: 6pm–8pm
Choose your preferred learning frequency, subject to availability and suitable class arrangements:
-
Intensive – Consecutive Days, where specifically arranged
-
Weekly
-
Fortnightly
-
Monthly
-
Flexible / FIFO – Arrange My Schedule
Students should allow additional time for practice, pattern work and garment construction between classes where needed.
💳 Course Fees & Payment Options
Pay Per Session: Pay individually for each scheduled two-hour session.
Pay Upfront – Full Course: Pay for all eight sessions together.
Applicable fees are displayed in the booking options.
Accepted Payment Methods
-
PayID
-
Direct Bank Transfer
-
Afterpay — full-course upfront payments only
Afterpay is not available for Pay Per Session bookings.
Cash payments are not accepted.
PayID: 0423 088 671
Payment must be received at least 3 days before your scheduled class date to secure your place.
Full-course payments are required upfront. Individual session payments must be received before each scheduled session.
Please note: Afterpay checkout restrictions are still being configured, so payment eligibility may require manual verification.
Booking & Cancellation Policy
Please review the applicable course booking and cancellation terms before enrolling.
Change-of-mind refunds are not offered, subject to your rights under Australian Consumer Law.
📝 Enrolments & Bookings
Step 1: Complete the online enrolment form:
https://lyndazkreativeklasses.com/pages/enrolments-bookings
Step 2: Select your preferred class schedule, learning frequency and payment option.
Step 3: Place your order and complete payment.
Step 4: Your booking is secured once the required payment has been confirmed.
📍 Class Location
Lyndaz Kreative Klasses
Rooty Hill, Western Sydney
Conveniently located just off the Great Western Highway, M4 and M7, with public transport nearby.
💜 Bring the Dress You Love. Learn to Recreate It.
Discover how to turn a favourite garment into a reusable pattern, develop your fitting skill
Share